Well, it's a new year, and a lot has been going on!
One of those things is that my 94 year old mother is currently in the hospital, and we've been really pushing for them to NOT discharge her back to her apartment. She actually wants to be in a nursing home and we've been trying to get her approved for one. It's our provincial government run health care system that decides if she's allowed to be in one, though. It's been two years of trying, while she's been getting increased amounts of home care, but as long as she had home care, and I was able to cover for them the many times they were short staffed, she was considered able to live independently. It's an incredibly cruel system.
My mother got to the point of using her Lifeline to call an ambulance to take her to a small local hospital, after weeks of increased swelling, and my siblings and I have basically told them, flat out, she can't go back to her apartment. It isn't safe for her, and none of us are in a position to take her in. In my case, I've got a disabled husband, I am now officially disabled as well, and none of us have homes accessible enough for her. Plus, we're all getting on in years ourselves. I'm the baby of the family, and I'm now 56. My sister, the oldest, is almost 70.
They seem to accept that she cannot be discharged to her apartment (her needing help because she fell off the toilet served to prove that even more), and she has been there through Christmas and New Year's, but they don't seem to be doing much for her. Every time I visit her, she tells me the doctor (there is a rotation of 5 doctors) hasn't even seen her, and no one has been able to give us a straight answer as to what the next step for my mother will be.
One of the things she has complained about is how cold she is. Her hospital bed had only a sheet and she asked for a blanket. They gave her one thin blanket and she was still cold, but they never gave her another blanket. My SIL was able to bring her one from their home during a visit, and I was later able to bring her another from her apartment, but for a while she was sleeping with her parka over her sheet to get warm! We've also had to bring her her sleep slippers, because her feet get so cold at night.
When she saw the hat I made for myself, pictured in my last post, she mentioned her head got cold at night, too. So I made a simple hat for her, using the same variegated grey and cream yarn that I used for my own hat.
She has been very happy with it, and wears it every night. During a recent visit, she told me that she sometimes even tucks her hands into it to warm them up.
So today, I made what will be a surprise for her. A muff for her hands.
I didn't have enough of the blanket yarn I used for her hat left to make a muff, so I had to get more blanket yarn. The only place locally that carries blanket yarn is a dollar store in the same town my mother is currently in. They didn't have the variegated yarn, but they did have a solid grey that matches one of the greys in her hat, so I got that.
The design is really basic. A tube, twice the length needed, folded in on itself to get a double thickness, then closed up at the end.
To be able to fold it in on itself, I made the second half slightly narrower. Here is the finished tube.
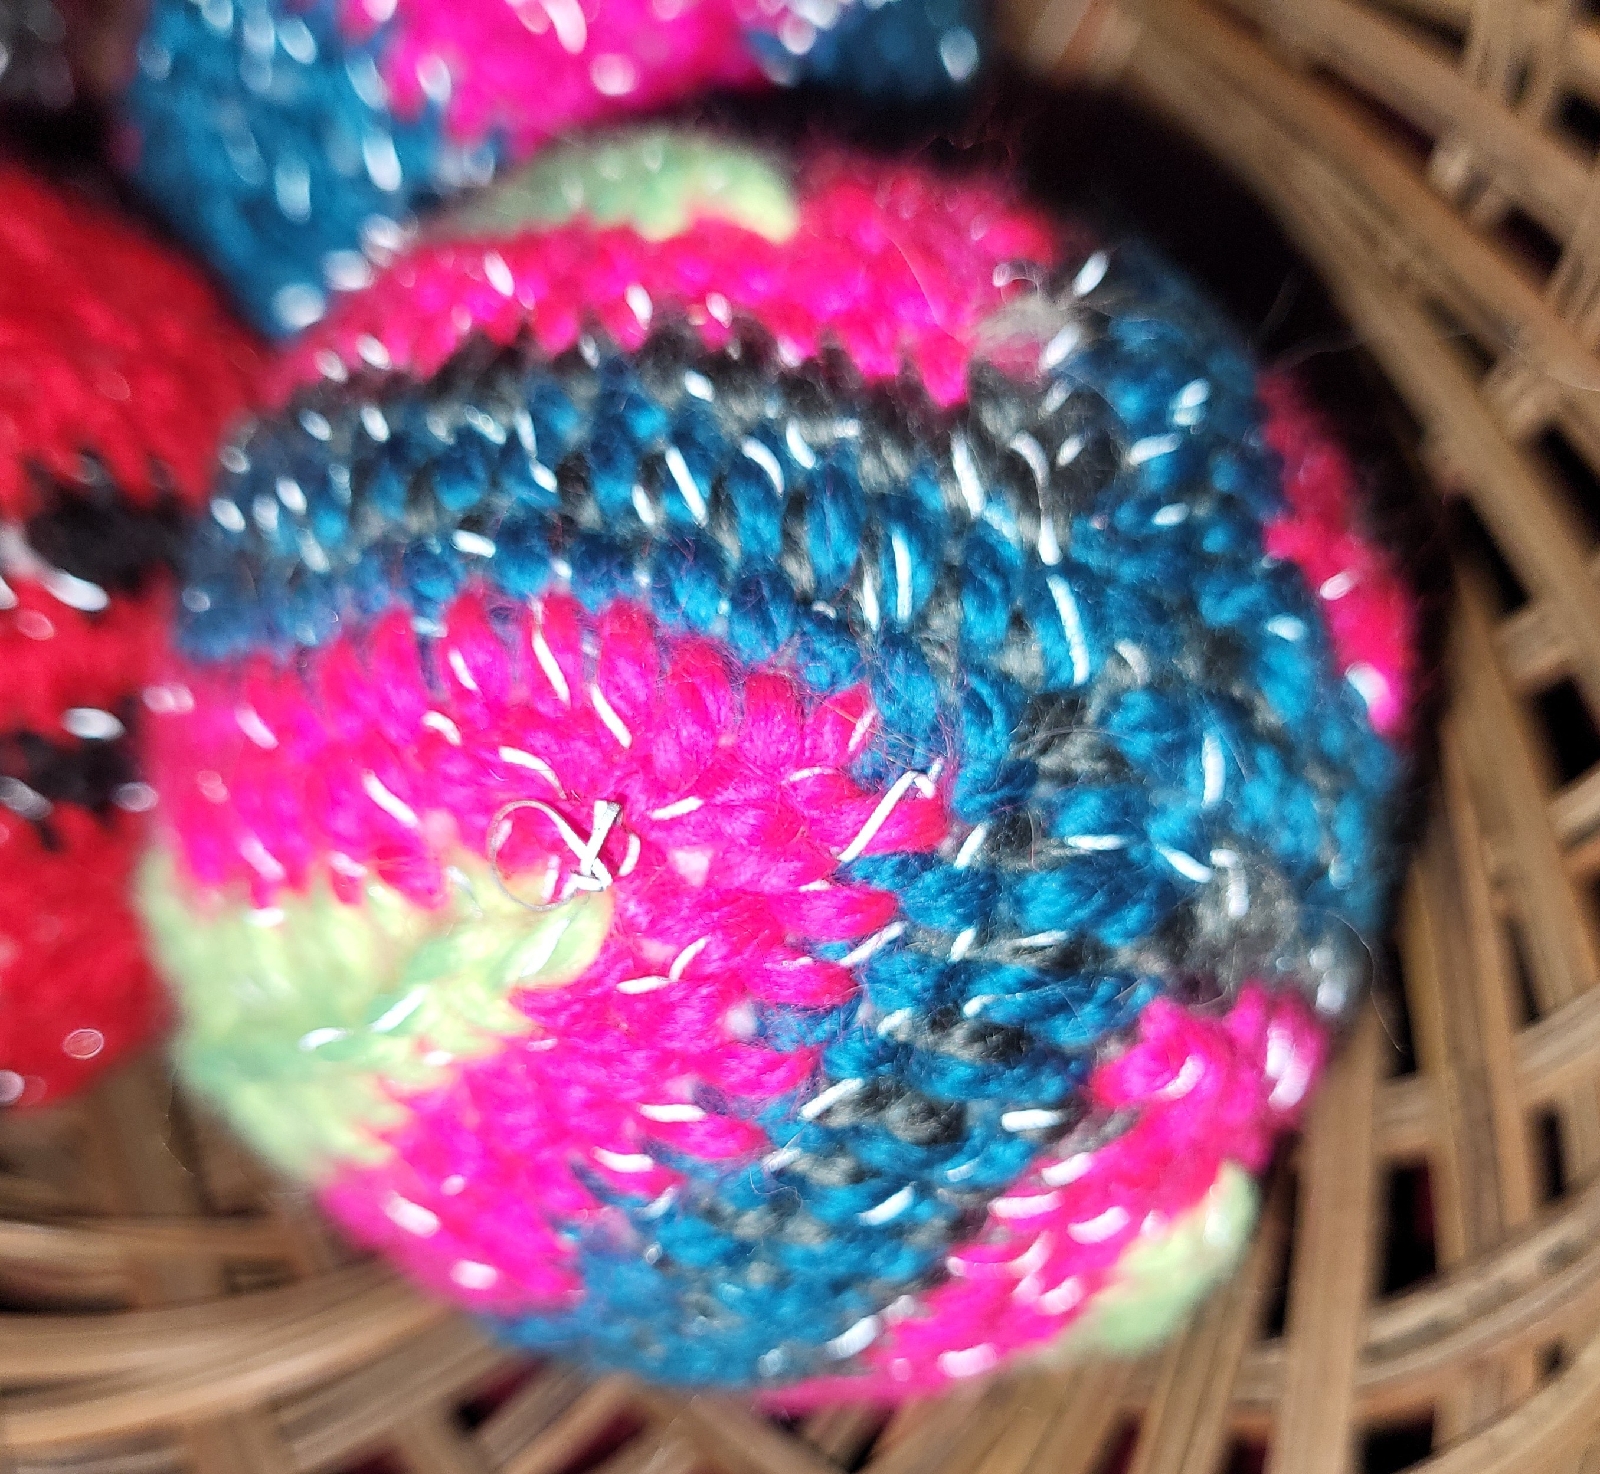
Using a 7mm hook, I made a starting chain of 30 ch joined into a circle, then did a 30 sc round into the chain. After that, I did rounds of dc, using my own hand to decide the length needed. After 11 rounds of 30dc, I did one round of 30 sc, then a second round reduced to 28 sc. I used a bit of cotton yarn to mark between the two sc rounds, as the fluffiness of the blanket yarn made it harder to see.
Once it was reduced to 28 stitches per round, I did another 11 rounds of dc, then finished the tube with one round of 28 sc.
I had enough of the variegated yarn left to use as an accent so, before I folded the tube in half, I did a round a slip stitches between the rounds of 30 and 28 sc, using the solid grey. This would give me something easier to stitch into, later.
When I started the new ball of yarn from the centre, pulling out a small yarn barf, I discovered the yarn had a break in it. That came in handy, as I was able to use this extra bit of detached yarn to do the slip stitching. Otherwise, I would have found the opposite end of the working yarn and used that.
Doing the slip stitch was a bit awkward, as the working end of the yarn had to be on the inside of the tube, so I was basically going by feel when it came to pulling up loops. It got easier once the first two or three ss stitches were done.
In the above picture, you can also clearly see where my starting dc stitch for each row is!
In flipping the tube in half, I would need to pass the yarn through the tube, so I re-balled it to make it easier to push through the tube without getting everything all tangled up. It was still a tight fit, but I got it through!
The above picture shows the open end, with the 28 stitch half inside the 30 stitch half, ready to be ss'd together.
This photo shows the folded end, with the ss at the very edge. That row of ss actually made it easier for the tube to fold in half neatly, too.
After that, the open end got ss'd together.
With the tube being two layers thick, it was easy to hide the yarn ends between the layers, after being secured.
Last of all, I did a round of sc into the slip stiches at each end, using the variegated yarn as an accent. It tidied up the ends quite nicely, too.
The finished muff has enough space to fit both hands snuggly, but not too tight. My mother has hands similar in size as my own, so it should work out quite well for her.
It'll be at least a couple of days before I can visit my mother at the hospital again, but when I do, I'll have a nice, cozy surprise for her to keep her hands nice and toasty!